Business customer


4 common problems and how you can solve them
1. Drawer jams – what to do?
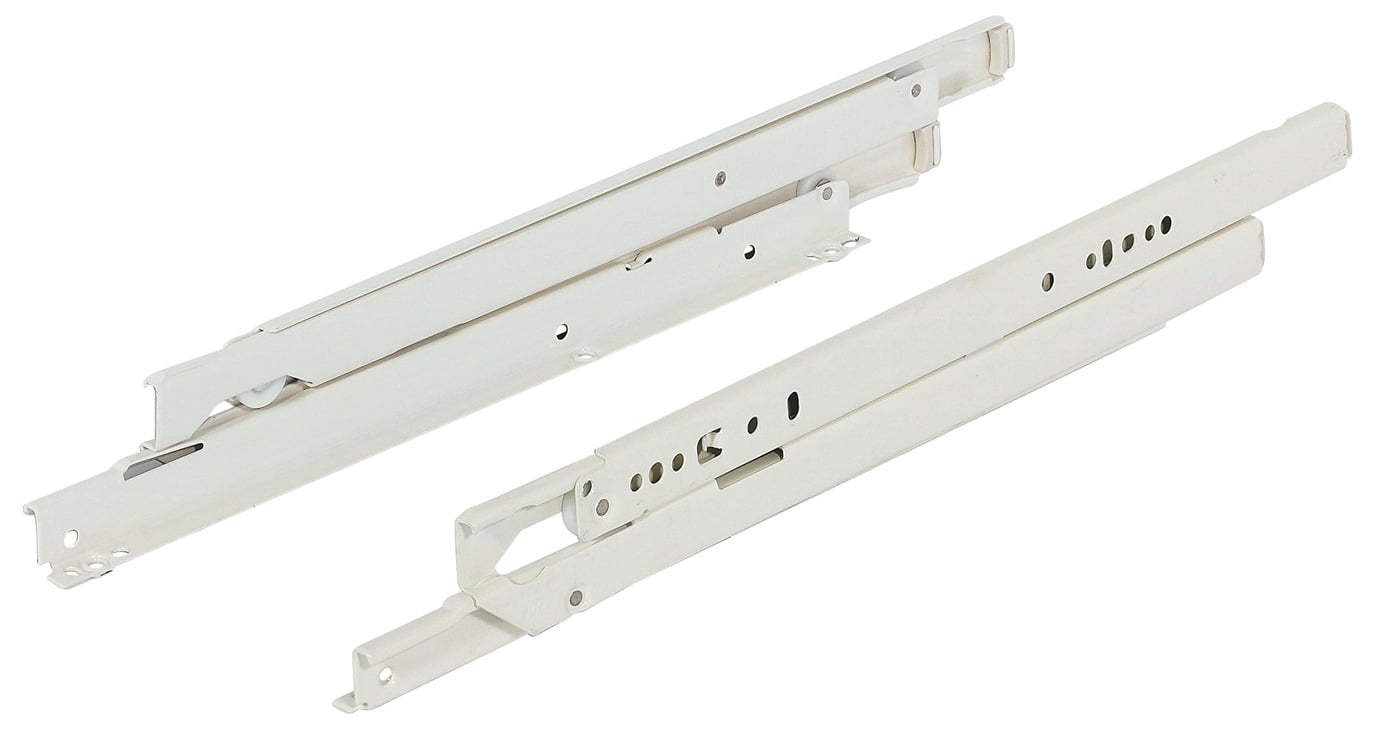
A sticking or blocked drawer is one of the most common problems in the kitchen – especially in older kitchens. Over time, drawer runners can warp, wear loose or become damaged, causing the drawer to run askew or become difficult to open. Dirt, trapped objects or worn sliders are also common causes.
If you want to repair your kitchen, you do not necessarily need to replace the entire cabinet carcass – often it is enough to replace the damaged runner or switch directly to a modern system.

This is how to solve the problem:
-
Remove the drawer and inspect the runners thoroughly
-
Replace defective rails – ideally with a set from our range
-
If required, convert to soft-close or tip-on rails for greater convenience
-
When installing, ensure exact alignment – so that everything runs smoothly again
-
Optional: add interior pull-outs or new glides to improve usability

Kreg drilling jig – for precise drawer installation
With the Kreg drilling jig you can install drawer runners quickly, neatly and precisely – without any lengthy measuring. It helps you position runners at the same height and the correct depth.
Ideal for repairs or when retrofitting modern systems such as soft-close- or Tip-on runners.


Empfohlene Produkte für die Schubladenreparatur:


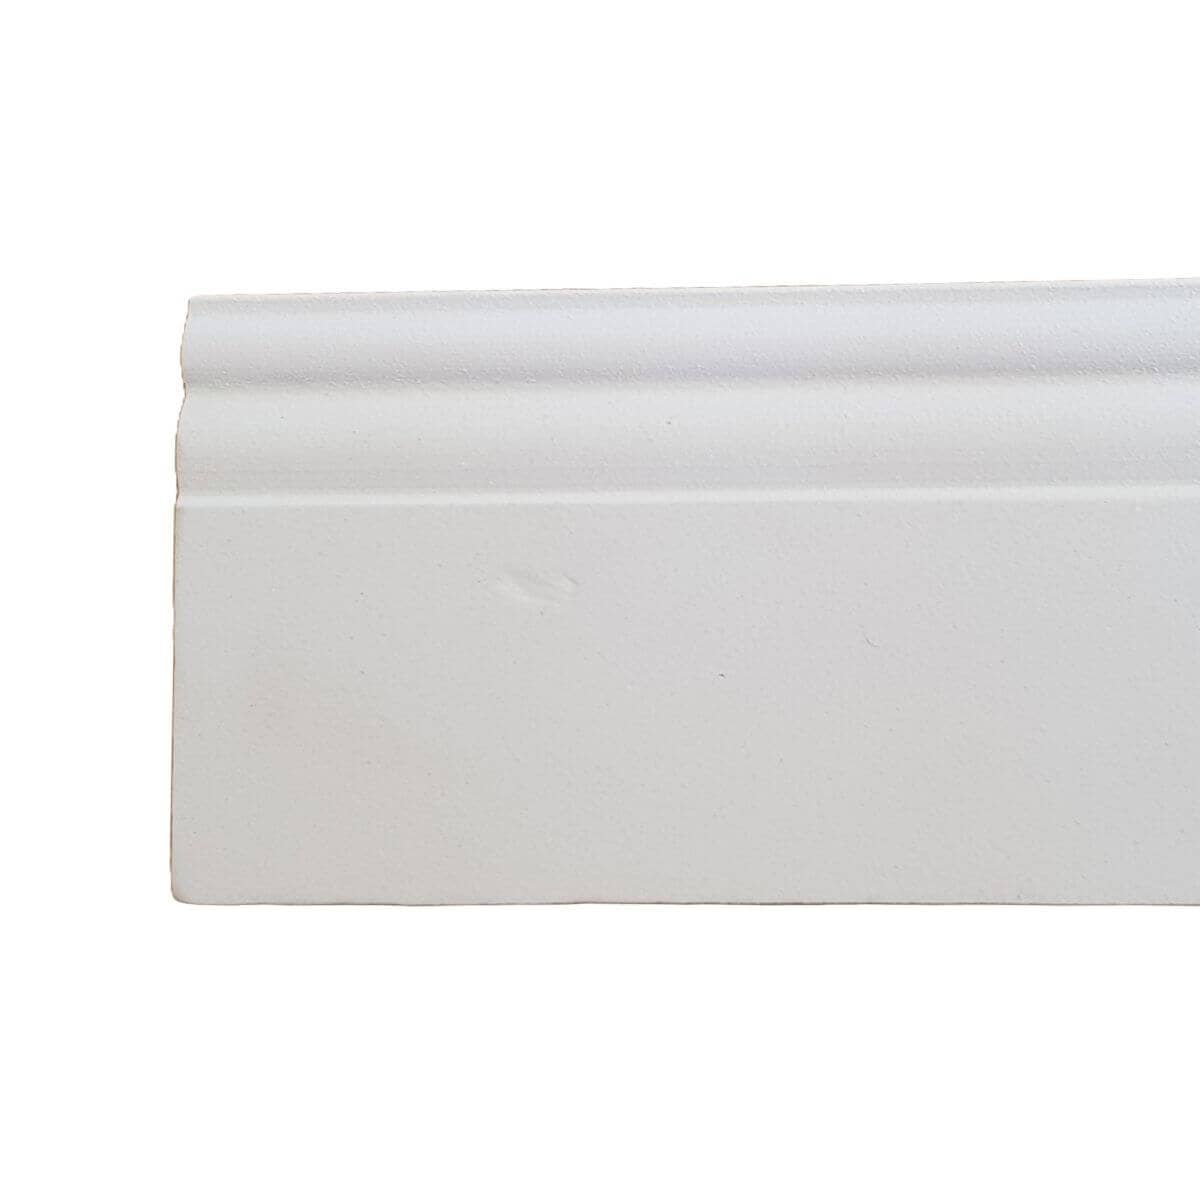
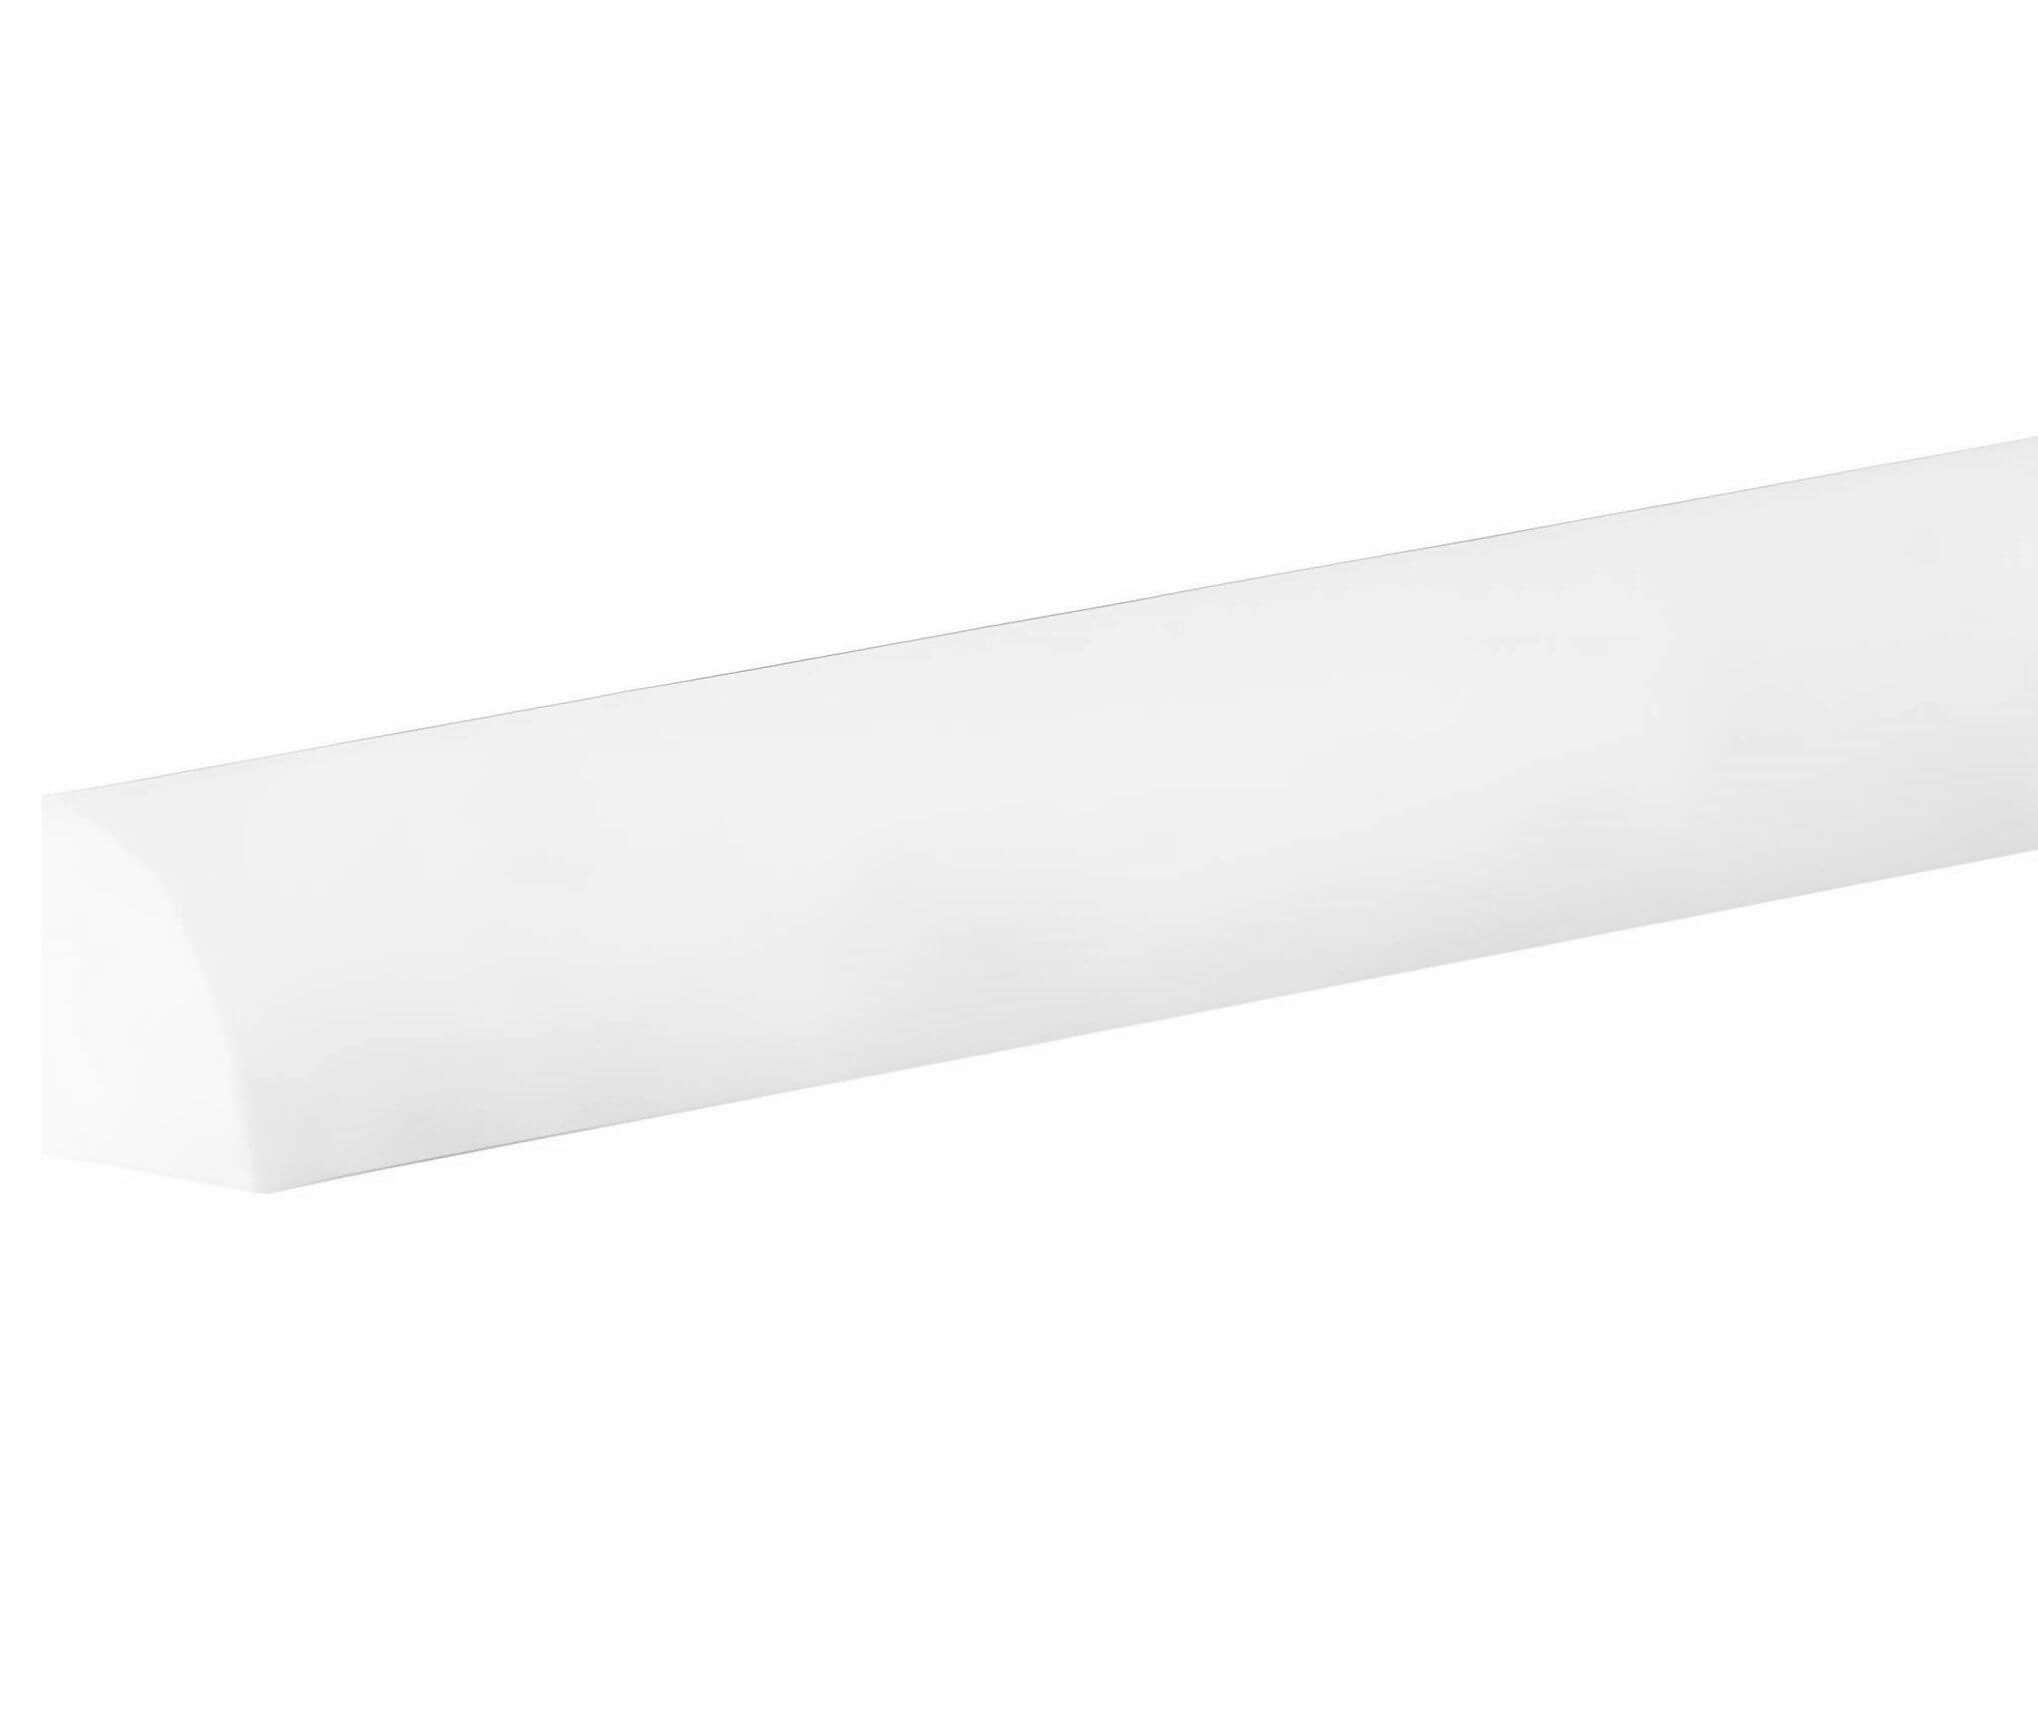
2. Repair or replace skirting boards – simple, flexible & durable


🔧 How to repair your plinth strip – step by step to a neat solution
A damaged or loose plinth strip in the kitchen not only looks untidy, it can also draw dirt, moisture and even pests behind the cabinet. Fortunately, the repair is often quick and easy to do – even without specialist knowledge. This is the best way to proceed:
-
Carefully remove the plinth strip
Using a flat tool or spatula, you can gently lever the strip off – with older kitchens, a firm grip is often enough, especially if it was only clipped or glued in place. -
Check the fixing
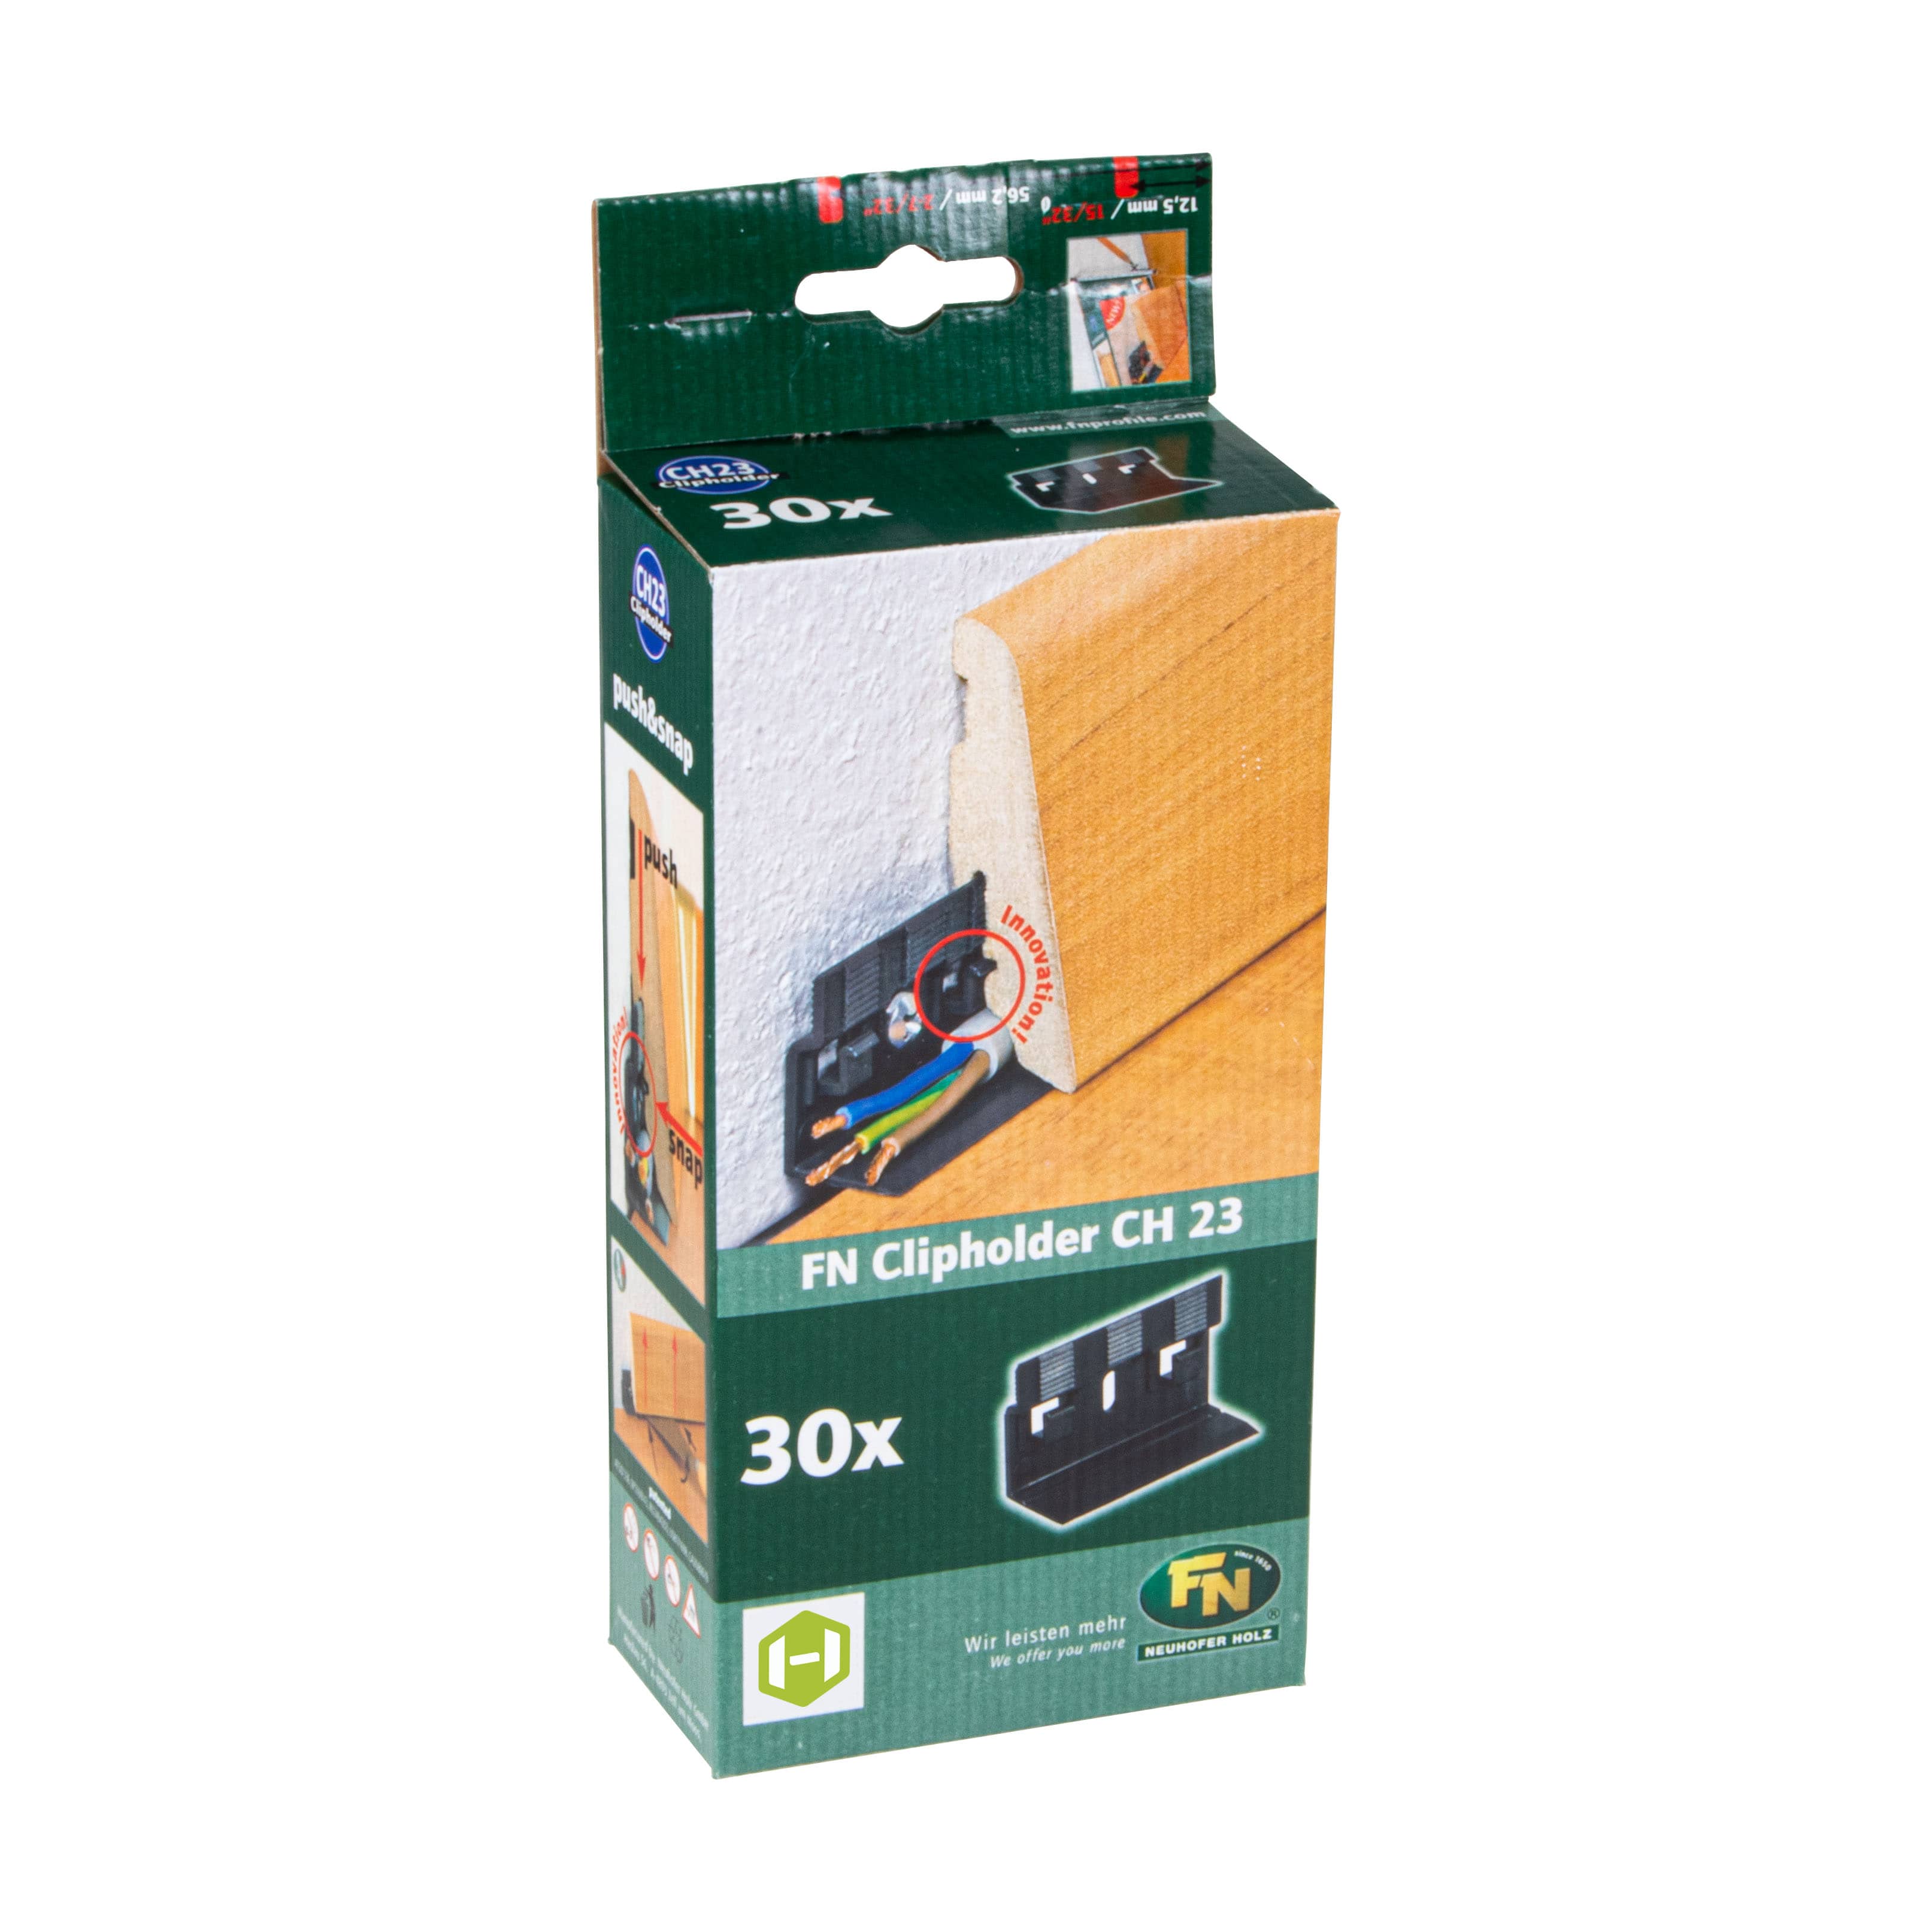
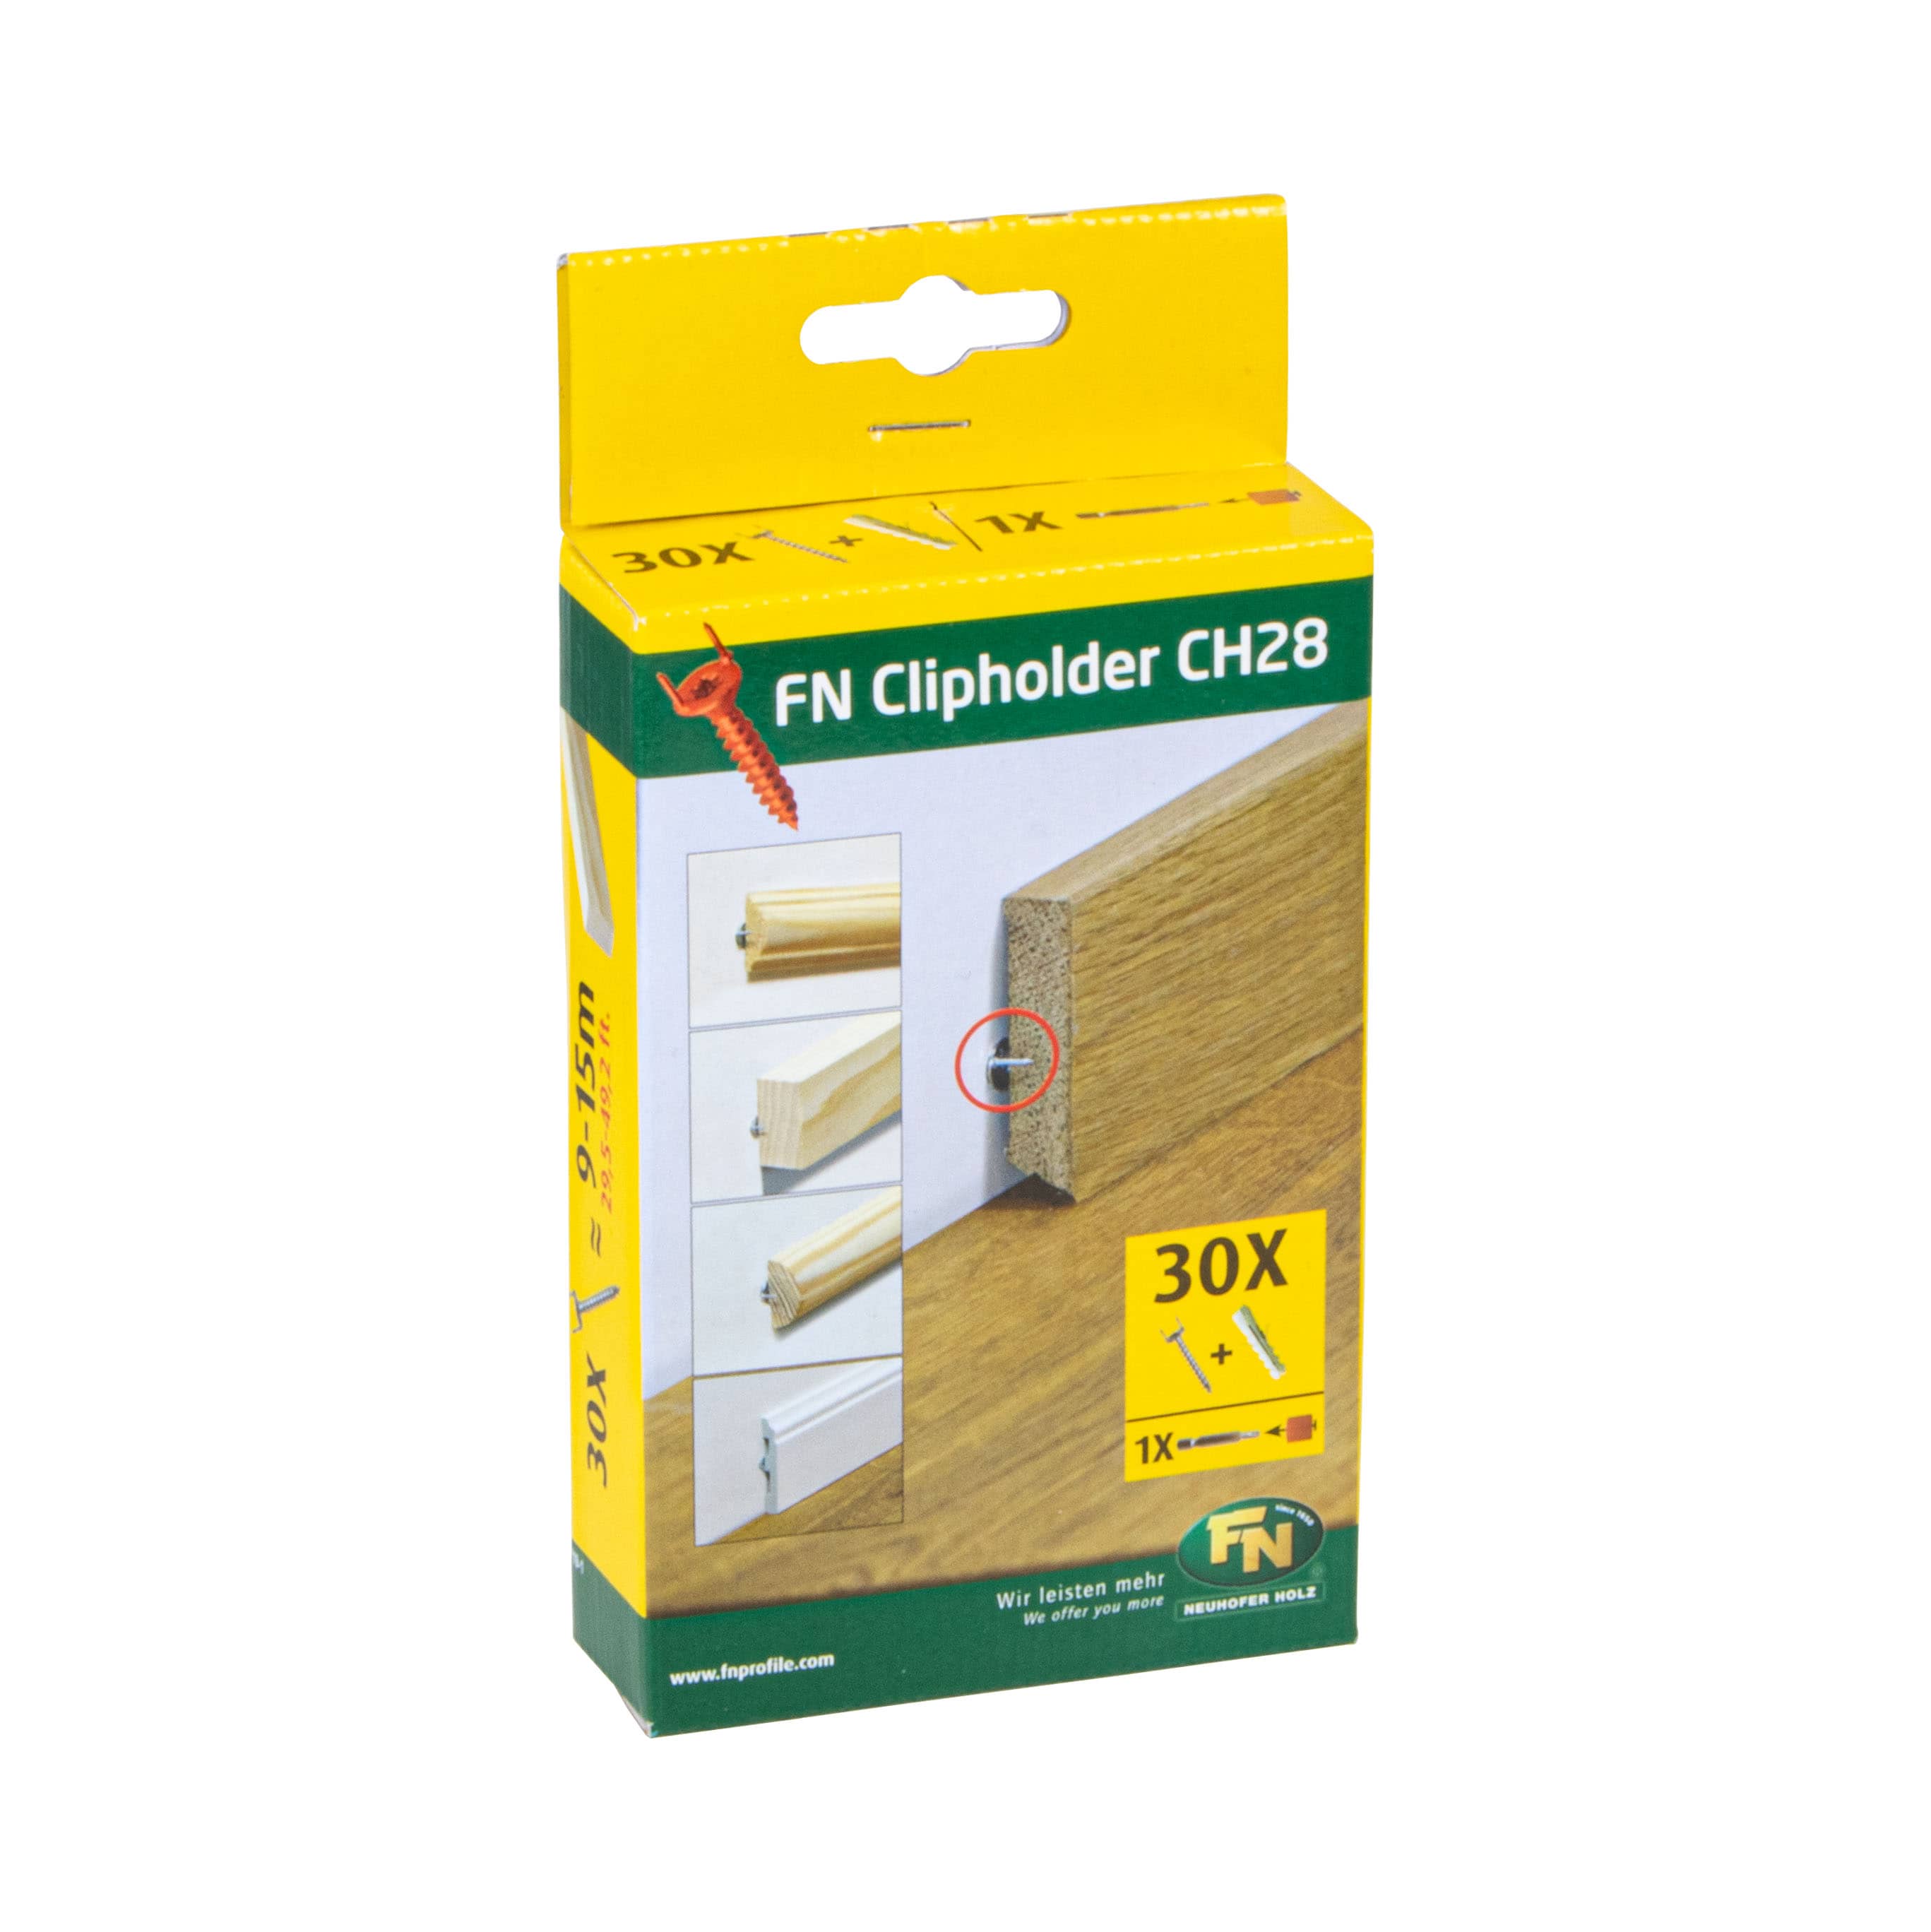
Check whether the previous system consisted of clips, screws or adhesive pads. For clip mounting: replace broken or worn holders – this is often where the cause of the detachment lies. -
Clean the surface
Remove old adhesive residues, dirt or crumbs thoroughly. The strip will only hold permanently on a clean surface – whether glued or pushed into place. -
Reposition and fix the strip
Reinsert the plinth strip precisely – either by clipping it in, screwing it on or using a suitable adhesive tape. Adhesive is particularly suitable if you live in a rented flat or do not want to drill. -
Replace the plinth strip if necessary
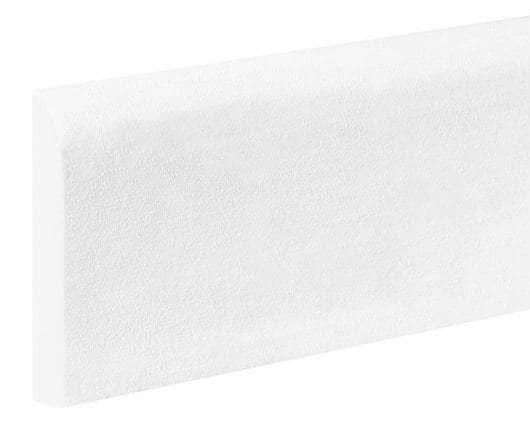
Is the decor damaged or does the strip no longer match the height or the floor? Then replacement is worthwhile. New, flexible models can often be cut to size precisely and blend unobtrusively into the overall look.


💡 Kevin from Heimwerkertools
Tip: When bonding the skirting board to tiles or laminate, be sure to thoroughly degrease beforehand – otherwise even the best mounting tape will not hold permanently.

A scratched sink or a dripping trap is no cause for joy – but the solution is simpler than many people think. Modern sinks and waste fittings can be fitted even without prior knowledge yourself. Especially in older kitchens, replacement is worthwhile – both visually and technically.

Replacing the siphon in the kitchen – what you need to know
A leaking or outdated siphon can be replaced quickly by yourself – provided you pay attention to a few important details:
-
Check dimensions: The standard is DN40 (40 mm). The siphon must fit the waste outlet and wall connection.
-
Choose the design: Classic bend or space-saving slim siphon – depending on cabinet depth.
-
Dishwasher connection? Then you need a siphon with an additional appliance connection.
-
Fit seals properly: Tightening by hand is enough – overtightening will damage the seal.
-
Test for leaks: Run water and check all joints for drips.
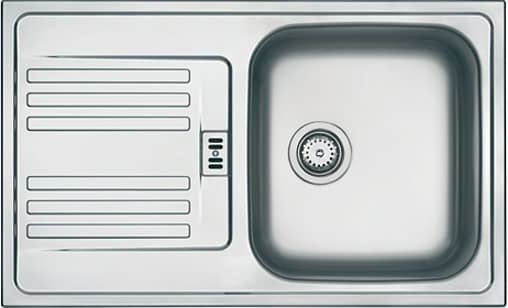
Replacing the sink in the kitchen – quick, clean, done yourself
An old sink can often be replaced more easily than you might think. With a little preparation and the right accessories, the replacement can also be carried out without specialist knowledge:
-
Check sink dimensions: Most inset sinks fit standardised cut-outs – ideal for standard base cabinets (e.g. 60 cm).
-
Remove the old sink: Loosen fixings, remove silicone residue, and clean the cut-out thoroughly.
-
Install the new sink: Secure it with an installation frame or clips, align it evenly, then seal it.
-
Connect the tap & waste fitting: Use the existing connections or replace them if necessary – is everything watertight?


4. Plinth adjustable leg broken? Here's how to bring your kitchen back into balance
A wobbling base cabinet is more than just a minor defect – it can block drawers, pull doors out of alignment or even disrupt the entire look of the kitchen. The cause is often a broken or sagging plinth adjustable leg . Fortunately, the solution is quick and straightforward – especially in modular kitchen systems.

Here is how to do it:
-
Remove the old foot
Whether screw-in or push-in system: defective plinth feet can usually be removed easily. Look out for any brackets or threaded adjustments. -
Fit the new plinth adjuster
Depending on the system, insert the replacement foot, click it into place or screw it directly into the cabinet base panel. Important: The load-bearing capacity must match the cabinet width. -
Adjust the height to the millimetre
Using a screwdriver or the integrated height adjustment, align the cabinet precisely – a spirit level is your best friend here. -
Check the other feet
Especially on uneven floors: check all feet to distribute the load evenly. This prevents stresses in the furniture and ensures a stable stand.


✅ Conclusion: Repair instead of buying new – with just a few simple steps to a functional kitchen
Many kitchen problems can be solved quickly, inexpensively and entirely without a tradesperson by yourself. Whether it is wobbling cabinets, a dripping siphon, loose plinth panels or sticking drawers – with the right products and a little time, a worn kitchen can once again become a reliable, functional space.
Repairing is worthwhile – you save money, extend the service life of your furniture and enhance the appearance of your kitchen. And best of all: many repairs are easier than you think.